

Introduction: The Magic of Built-Ins in Small Spaces
Almost everyone dreams of a floor-to-ceiling library wall because it feels cozy, looks expensive, and instantly makes a room feel “finished.” However, for many, the dream stops once they see the price of custom cabinetry. In fact, in 2026, professional quotes for custom library walls often start at $5,000, which is consequently not realistic for most homeowners or renters. Fortunately, this is where the IKEA Billy Bookcase Built In Hack becomes a game-changer.
The Billy bookcase is the ultimate blank canvas—simple, affordable, and sturdy. By applying a few Budget Luxury techniques, you can turn flat-pack furniture into a bespoke architectural feature. Furthermore, for those living in urban apartments, this is not just a style choice; it’s a vital Small Space Hack that utilizes vertical real estate to clear floor clutter.
As a result of looking at my own empty wall, I felt stuck. I wanted that high-end look, but my bank account said ‘flat-pack.’ Eventually, I realized the Billy bookcase is a foundation. Therefore, after weeks of research, I’ve narrowed it down to the only steps you actually need.
Planning Your Layout for 2026 Trends
Before buying a single unit, you must plan your layout carefully. Indeed, a common mistake is failing to account for “the lean”—IKEA bookcases can lean forward on carpet or uneven floors.
1. Measure Twice, Buy Once
First, measure your wall’s width and height, while also accounting for the depth of your baseboards. In order to get a true “built-in” look, your shelves must sit flush against the wall. To achieve this, you will likely need to remove your existing baseboards or build a base frame.
Additionally, trust me on this—measure your ceiling height in three different spots. Because old houses often have slanted ceilings, your height extenders might not fit on one end of the wall unless you check beforehand.
2. The 2026 “Cloffice” Integration
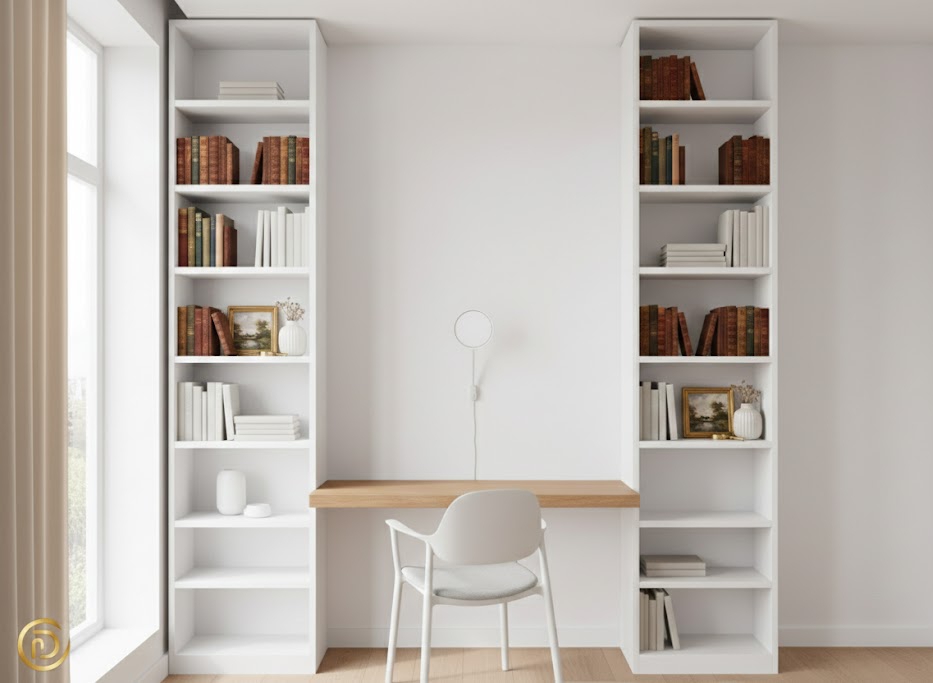
Moreover, a major trend this year is the integrated home office. When planning your library, consider leaving a 30-inch gap between two Billy units. Then, you can bridge this gap with a desktop piece, thus creating a “cloffice” that blends seamlessly into your Living Room Layouts.
Essential Materials: The “Pro-Hack” Shopping List
To begin with, you must emphasize the right materials. Specifically, using the wrong primer is the #1 reason IKEA hacks fail.
- IKEA Units: Billy bookcases and height extenders.
- Oxberg Doors: Notably essential for “Budget Luxury” to hide clutter.
- The Primer (Critical): You must use a shellac-based primer. Since IKEA’s laminate is non-porous, standard primers will subsequently peel off.
- Trim & Molding: Crown molding for the ceiling and “base shoe” molding.
Actually, I learned the hard way: do NOT skip the shellac primer. Although I tried a cheap one first, the paint peeled off. Instead, spend the extra $20 on the good primer for a professional finish.
Step-by-Step Guide to the “Built-In” Transformation
Step 1: Building the Plinth
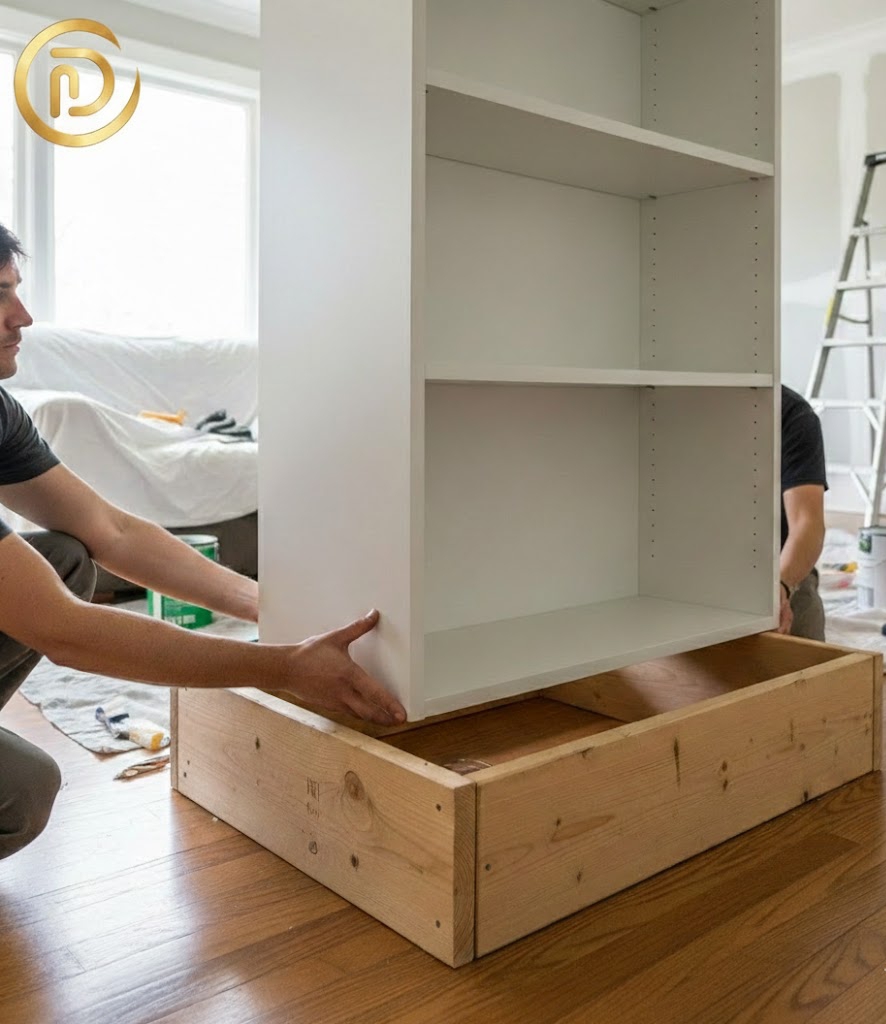
First, build a frame out of 2x4s. This raises the units so you can wrap a new baseboard around them. Consequently, this small elevation is what separates a “cheap hack” from a “custom library.”
Step 2: Safety & Securing
Next, in 2026, safety guidelines prioritize securing furniture. Therefore, always secure your bookcases to wall studs. In addition, use plastic shims if your wall is uneven to ensure the units are perfectly level.
Above all, safety is my top priority. Even if you don’t have kids, bolting these to the studs is non-negotiable so that you prevent the ‘middle-gap’ look.
Step 3: Closing the Gaps
Subsequently, use MDF strips to bridge the 2–5 inch gaps at the ends. Once you nail them into the side of the bookcase, use caulk to seal the edge.
Step 4: The “No-Hole” Customization
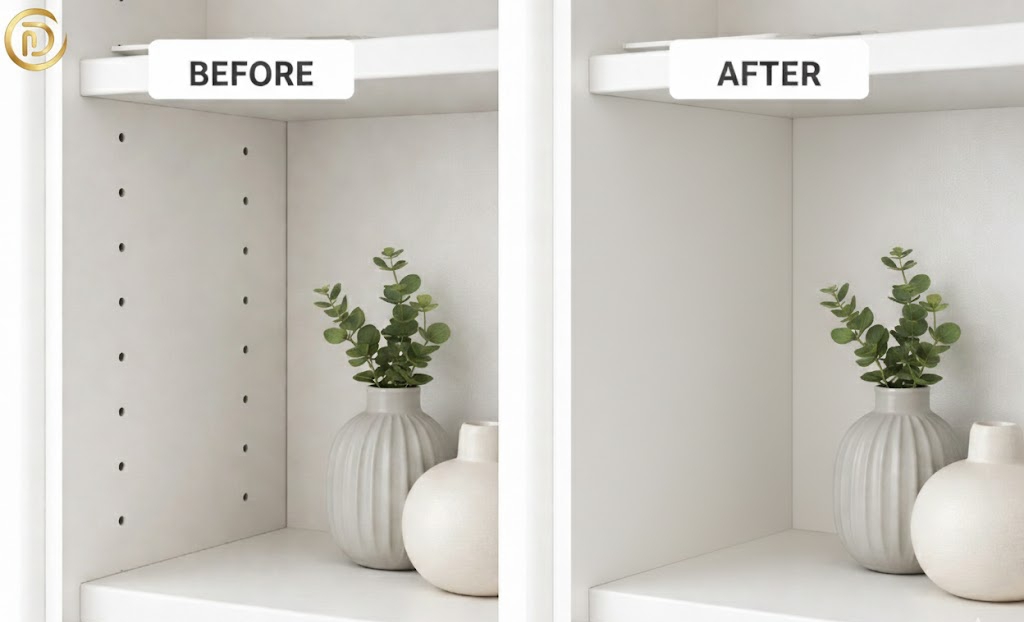
Finally, the dead giveaway of an IKEA shelf is the row of adjustment holes. To fix this, use a high-quality wood filler to plug every hole. After it dries, sand them flush for a custom-milled wood look.
Admittedly, this part is tedious, but it’s my favorite Budget Luxury Tip. Soon, people will ask, ‘Wait, is this really IKEA?’
Important Tips To Note:
While the process is straightforward, certain pitfalls can ruin the custom look. Therefore, keep these tips in mind:
- Uneven Floors: If your floor is sloped, your units will not meet at the top. Always use plastic shims under the base frame to ensure a perfectly level start.
- The “Yellowing” Paint: Avoid using cheap oil-based paints on white bookcases, as they tend to yellow over time. Instead, choose a high-quality acrylic-alkyd hybrid for a durable, non-yellowing finish.
- Visible Seams: In order to make two bookcases look like one solid piece, you must use a paintable caulk in the vertical seam where the units touch. Without this, the “IKEA look” will remain visible
Meanwhile, the “all-white” IKEA look is fading. Instead, 2026 is all about Color Drenching.
- Hidden Gem (Behr 2026): For example, a deep, smoky teal.
- Cloud Dancer (Pantone 2026): Similarly, a creamy off-white for an airy feel.
Personally, I chose a deep teal for my library. Even though it felt risky, painting the shelves the same color as my walls actually made my small living room feel twice as deep.
Small Space Storage Hacks: Beyond Just Books

In addition to books, use your Billy hack for:
- A Hidden Bar: For instance, use Oxberg doors to hide glassware.
- “Bookshelf Wealth”: Essentially, mixing books with art to show personality.
- Media Center: By removing the back panel, you can hide all your cables.
Cost Breakdown (The “Budget Luxury” Comparison)
To truly understand the value of this IKEA Billy Bookcase Built In Hack, let’s look at the numbers. Specifically, we are comparing a professional custom build to our DIY approach.
| Item | Professional Custom Build | IKEA Billy Hack (DIY) |
| Materials | $1,500 – $2,500 (Solid Wood) | $400 – $600 (IKEA + MDF) |
| Labor | $2,000 – $4,000 | $0 (Sweat Equity) |
| Paint/Finish | $500 | $100 |
| Total Estimated Cost | $4,000 – $7,000 | $500 – $700 |
As illustrated above, you are saving nearly 90% by doing the work yourself. Consequently, this allows you to reallocate your budget toward high-end decor, such as brass picture lights or luxury bookends, which further enhances the Budget Luxury aesthetic.
Conclusion
To summarize, the IKEA Billy Bookcase Built In Hack is the gold standard for budget-friendly interior design. Ultimately, it allows you to achieve the “Budget Luxury” look while solving real-world storage problems. Whether you choose bold teal or classic white, the key is in the details.
If you’re feeling overwhelmed, just start with one unit. After all, you don’t have to build a library in a day. For more of my DIY journey, check out my About page.
Frequently Asked Questions
Q: Which Billy Hack is trending in 2026?
Typically, arched IKEA Billy built-ins are the top trends. This involves cutting “arch” shapes out of thin MDF. Consequently, this creates a high-end, Mediterranean aesthetic.
Q: How do I get a professional finish on the new 2025/2026 Billy materials?
Since IKEA updated the materials to paper foil, you must:
- Avoid over-sanding.
- Apply shellac-based primer immediately.
- Choose a Matte finish to hide seams better than glossy paint.
Q: Is this built-in project renter friendly?
Yes, absolutely! Instead of nailing to the wall, you can build a “floating” frame. Specifically, secure the units together and add molding to the top of the shelf only. As a result, the entire unit can be disassembled later.
Q: How do I add lighting to my IKEA Billy built-ins without an electrician?
Fortunately, you can achieve a high-end look using battery-operated or rechargeable LED picture lights. Specifically, search for “wireless library lights” on Amazon. Simply screw them into the top molding or the header of the bookcase. This adds instant warmth and sophistication without the need for complex wiring.
Q: Can I add a library ladder to a Billy Bookcase hack?
Technically, yes, but you must be careful. Because the Billy is made of particleboard, it cannot support the weight of a rolling ladder on its own. Therefore, you must anchor a heavy-duty 2×4 header beam into the wall studs behind the top of the bookcases. Then, attach the ladder rail directly to that structural beam for safety.