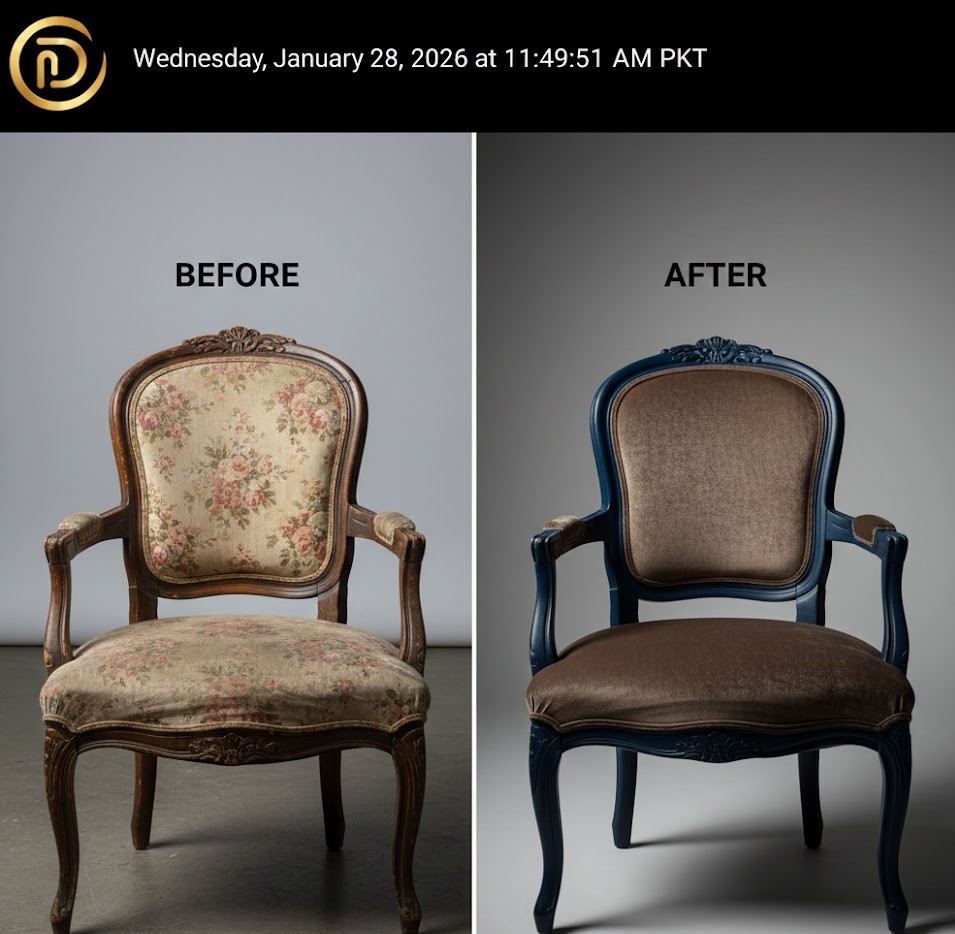

Initially, walking into a high-end furniture store can feel overwhelming when you see the price tags. Specifically, fluted furniture has become the “it” look for budget luxury tips in 2026. This textured style adds a lot of visual weight and depth to any room. However, you do not need to spend thousands of dollars to get this designer look. In this guide, you will learn how to build a DIY fluted coffee table for under $50. Whether you are a beginner or a seasoned pro, these three expert methods will help you create a stunning centerpiece that looks like a custom piece.
The Magic of Fluted Textures in 2026
Currently, interior design is moving toward “Organic Modern” styles. This means we want pieces that feel natural yet polished. For this reason, the DIY fluted coffee table has become a viral project. It uses simple lines to create a very expensive-looking shadow effect. Consequently, even a basic round table can be transformed into a work of art. Because we focus on budget luxury tips at Decor in Dimes, we want to show you that expensive style is about clever ideas, not just a big bank account. Therefore, let’s look at the best materials and methods to start your project.
Expert Material Selection: Quality on a Budget
To begin with, you must choose the right “skeleton” for your table. Since we are aiming for a $50 budget, upcycling is your best friend. For example, you can use an old wooden cable spool, a sturdy cardboard concrete form tube, or even a cheap thrifted side table. Specifically, for a DIY fluted coffee table, the base needs to be strong enough to hold a tabletop but smooth enough for the fluting to stick.
| Material Choice | Why It Works | Estimated Cost |
| Wooden Dowels | Classic, high-texture finish | $35 – $45 |
| Flexible Pole Wrap | Fastest for round bases | $40 – $55 |
| Half-Round Trim | Most professional designer look | $45 – $60 |
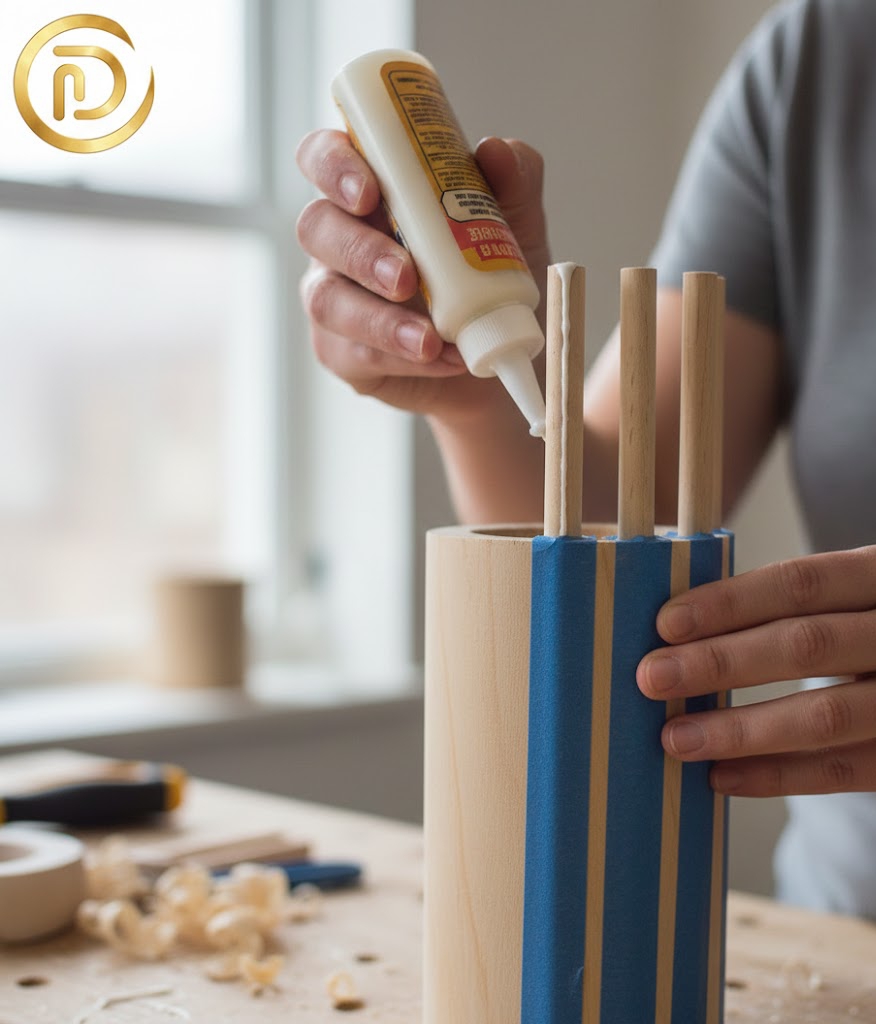
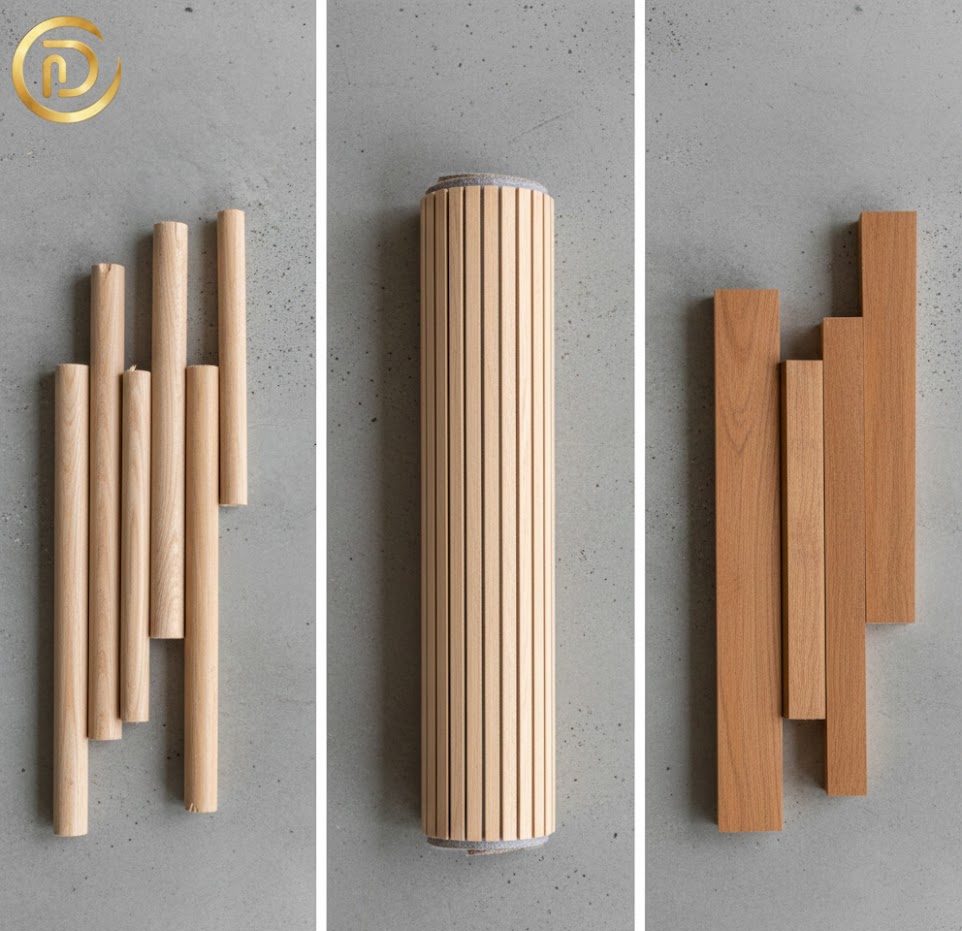
Method 1: The Wooden Dowel Hack (Highest Texture)
If you want a very deep, 3D texture, using individual wood dowels is the best way to build a DIY fluted coffee table. This method is a favorite for sustainable luxury interior design because it uses raw wood.
- Measure and Cut: First, measure the height of your table base. Cut your 1/2-inch dowels to this exact length using a miter saw or a simple hand saw.
- Sand the Edges: Since rough edges look cheap, always sand the top and bottom of every dowel.
- Apply Adhesive: Use a strong wood glue or construction adhesive. Place the dowels vertically, one by one, around the base.
- Secure with Tape: Use painter’s tape to hold them in place while the glue dries.
Because this method uses individual pieces, it gives you a very “custom” feel. Furthermore, it allows you to stain the wood for a warm, organic look that mimics high-end brands like West Elm.
Method 2: The Pole Wrap Shortcut (Best for Beginners)
For those who want a DIY fluted coffee table but have limited time, “Pole Wrap” is the secret weapon. Specifically, this is a sheet of flexible wood slats held together by a fabric backing.
- Step 1: Measure the circumference of your round base.
- Step 2: Cut the Pole Wrap sheet to size using a utility knife.
- Step 3: Spread a thin layer of adhesive on the base and wrap the sheet around it.
Similarly to the dowel method, this provides a beautiful texture. However, it is much faster because you are applying dozens of “flutes” at once. Consequently, this is one of the best small space hacks for a quick weekend makeover.
Method 3: The Half-Round Trim Technique
Lastly, using half-round molding is how many professional designers achieve a seamless look. Unlike full dowels, half-rounds have a flat back. Because of this, they sit perfectly flush against your table base. This is the best method if you plan to paint your DIY fluted coffee table in a trendy 2026 color like “Mushroom” or “Terracotta.”
Budget-Friendly Implementation: The “Dimes” Way
At Decor in Dimes, we believe in saving money without losing style. To keep your DIY fluted coffee table under $50, follow these specific “dime-saving” rules:
- Shop the “Scrap” Bin: Many hardware stores sell “culls” or scrap wood for 70% off. You can often find enough trim or dowels here to finish a small table.
- Upcycle the Top: Instead of buying a new wood round, look for a glass or marble top at a local thrift store. A DIY fluted coffee table with a marble top looks incredibly expensive.
- Mix Your Own Stain: Instead of buying three different cans, buy one dark stain and dilute it with mineral spirits to get different shades. This is a classic budget luxury tip that saves at least $20 per project.
Designer Finishes: Staining vs. Painting
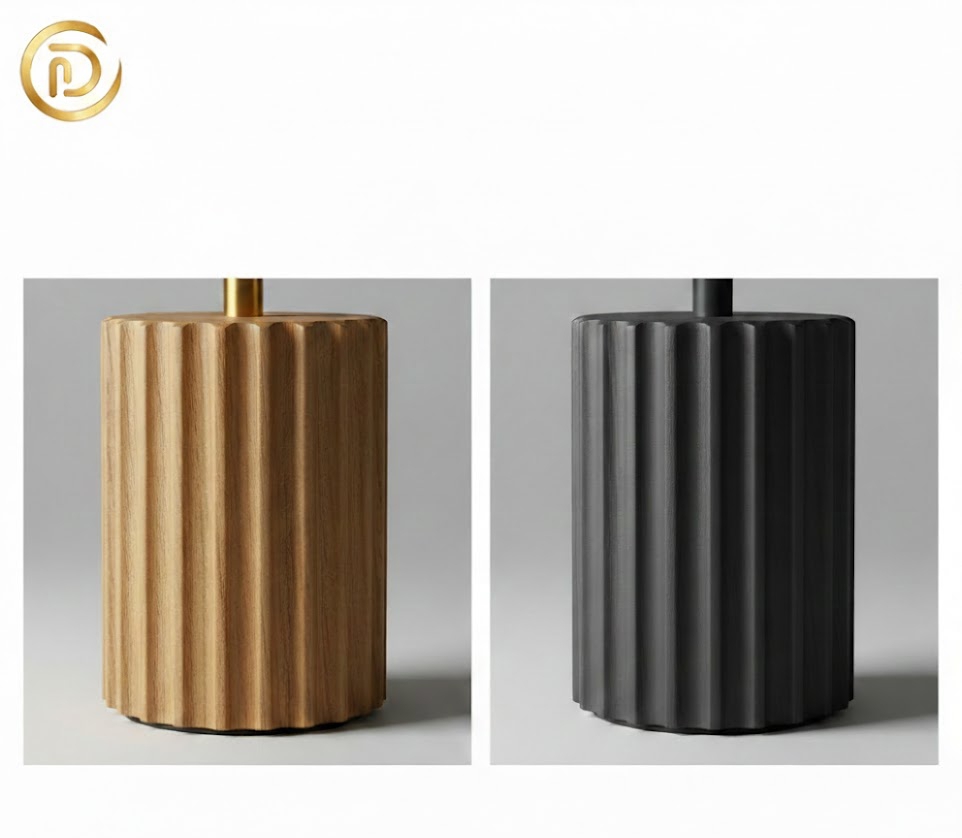
Once your fluting is attached, the finish determines the “vibe.” Currently, in 2026, matte finishes are much more popular than high-gloss.
- For a Natural Look: Use a “White Oak” or “Special Walnut” stain. These colors highlight the wood grain and support sustainable luxury interior design.
- For a Modern Look: Use a matte black or deep forest green paint. Because the fluting creates shadows, dark colors look very sophisticated.
- The Sealant: Always use a water-based polycrylic. Specifically, this protects the wood without turning it yellow over time. Read also water-based polycrylic to a technical guide like Minwax: Choosing the Right Clear Finish.
Common Mistakes to Avoid in Your DIY Fluted Coffee Table
To ensure your project gets a “professional” result, watch out for these common pitfalls:
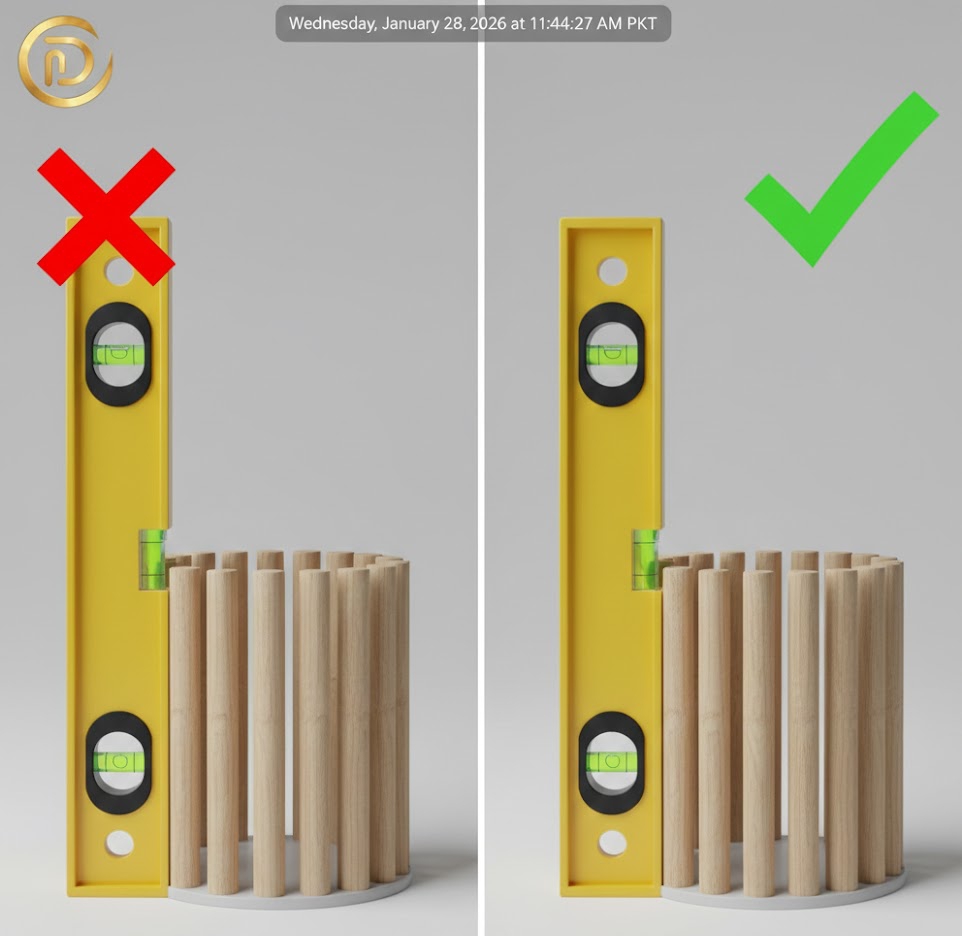
- Incorrect Spacing: If your dowels are not perfectly vertical, the whole table will look crooked. Use a level!
- Too Much Glue: If glue oozes out between the flutes, it will block the stain from soaking in. Always wipe away excess glue immediately with a damp rag.
- Ignoring the Base Weight: A DIY fluted coffee table can become top-heavy. Make sure your base is weighted (you can put a sandbag inside the tube) so it doesn’t tip over.
Conclusion: Creating Your Sustainable Luxury Home
In conclusion, building a DIY fluted coffee table is one of the most rewarding projects you can tackle this year. It combines the beauty of high-end design with the satisfaction of a “dime-saving” budget. Moreover, by upcycling old materials and using simple wood accents, you are contributing to a more sustainable home. Therefore, don’t wait for a sale at a big-box store. Visit your local hardware shop this weekend, grab some dowels, and start your transformation.
People Also Ask: DIY Fluted Furniture Tips
1. What is the best adhesive for a DIY fluted coffee table?
For the most secure bond, you should use a combination of wood glue and a few “tacks” from a brad nailer. However, if you don’t own a nail gun, a high-quality construction adhesive like “Liquid Nails” works perfectly. Specifically, it has a “quick-grab” formula that prevents the dowels from sliding while they dry.
2. Can I use PVC pipes instead of wood for the fluting?
Yes! If you want a very modern, chunky look, you can use small PVC pipes cut in half. This is a very affordable DIY fluted coffee table hack. Just remember to use a primer made for plastic before you paint, otherwise, the finish will peel off.
3. How do I clean a fluted table base?
Because of the many grooves, dust can settle in the flutes. The best way to clean your DIY fluted coffee table is with a soft brush attachment on a vacuum or a microfiber duster. Because we recommend a satin or matte finish, a simple damp cloth is usually enough to wipe away spills.
As the lead stylist for Decor in Dimes, I am obsessed with finding the intersection of high-end aesthetics and low-cost living. My goal is to empower you to see the potential in everyday objects. From mastering small space hacks to sharing the best living room layouts, I believe every home should tell a story of creativity and smart spending.
What’s your next DIY project? Are you planning to try the dowel method or the pole wrap shortcut? Sharing your progress helps our community grow! Drop a comment below with your questions or show us your latest furniture flip! Would you like me to create a shopping list of the exact tools you need for this project?